
Understanding Why Gutters Pull Away and What Follows After

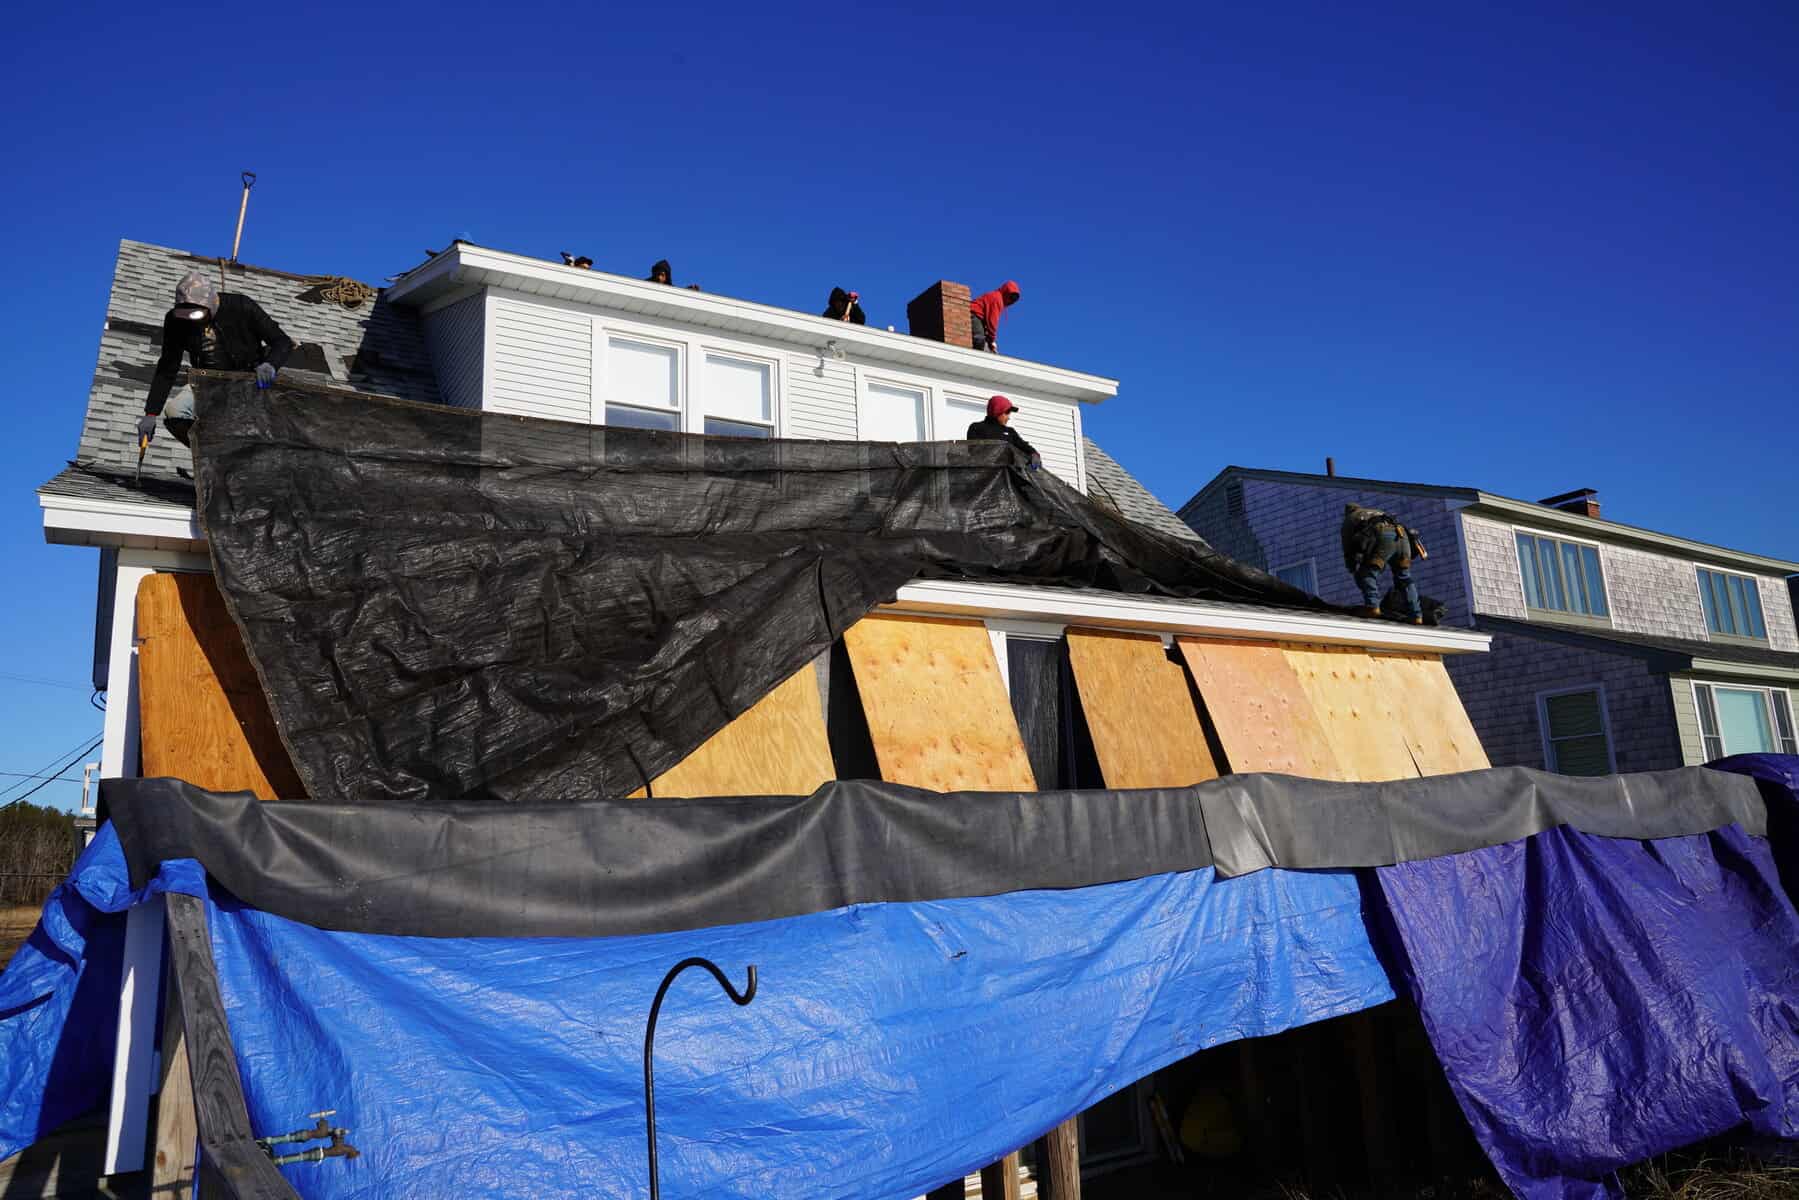
J. Carnes & Son Roofing crew tearing off a storm-damaged roof on a New Hampshire Seacoast home, with protective tarps hung down the wall and the sheathing boarded in

A home’s exterior is not complete without its gutters. These are responsible for directing rainwater away from the foundation and preventing water damage. However, gutters can pull away from the house over time, leaving gaps between the gutter and the roofline. This may seem minor, but it can lead to significant issues if left untreated.

Reasons for Gutters Pulling Away

  • Poor Installation: If gutters are not installed correctly, they are more likely to pull away from the roofline. This is because the fasteners that secure the gutter to the house are not strong enough or are not located in the proper position.
  • Clogged Gutters: When gutters are clogged, water accumulates, causing the gutters to become heavy and pull away from the house.
  • Weather Conditions: Harsh weather conditions, such as strong winds, heavy rain, or snow, can put pressure on the gutters, causing them to separate from the house.
  • Age: Over time, gutters can weaken and deteriorate, making them more susceptible to pulling away from the house.

What Happens When They Pull Away?

  • Water Damage: When gutters are not functioning correctly, rainwater can accumulate around your home’s foundation, causing water damage. This may result in expensive repairs and compromise the structural integrity of your home.
  • Pest Infestation: Water pooling around your home’s foundation can attract pests, such as mosquitoes, ants, and termites. These pests can damage your home and be a health hazard to your loved ones.
  • Landscape Erosion: Water pouring out of clogged or damaged gutters can erode the soil around your home, causing damage to your landscape and potentially leading to drainage issues.
  • Structural Damage: When water accumulates around your home’s foundation, the soil will inevitably shift, leading to structural damage. This can include cracked walls, uneven floors, and doors and windows that no longer close correctly.

How to Prevent Gutters from Pulling Away

  • Regular Maintenance: This includes removing debris that may clog the gutters, checking for leaks or damage, and ensuring the gutters are properly attached.
  • Professional Installation: Make sure your gutters are installed correctly, with the correct number of hangers to support the gutters’ weight and the water they collect. Additionally, ensure the gutters are sloped correctly to ensure proper water flow.
  • Upgrading Gutters: If your gutters are old and deteriorated, upgrading to a more durable and robust system is necessary. For instance, seamless gutters are less likely to pull away since they are built to custom-fit your house and have fewer joints that can weaken over time.
  • Repairing Damage:  Any sign of damage, such as cracks or holes, requires repair at the soonest. Neglecting these issues may lead to further damage and potentially costly repairs in the future.

The Bottomline

Gutters are vital in protecting your home and keeping it safe from water damage. However, when gutters pull away from your house, they can lead to significant problems. Whether it’s professional installation, upgrading to a more durable system, or repairing damage, you must address any issues immediately. In short, don’t ignore your gutters at all costs!

If your home’s gutters are pulling away, hire one of the gutter installers at J. Carnes & Son Roofing for a professional assessment and replacement. With our expertise and experience in house gutters, we can make sure they are properly installed and functioning correctly to protect your home from water damage.

Call us at 603-686-7763 to request a free estimate!
Serious Issues That Can Stem from Leaking Roofs: A Guide

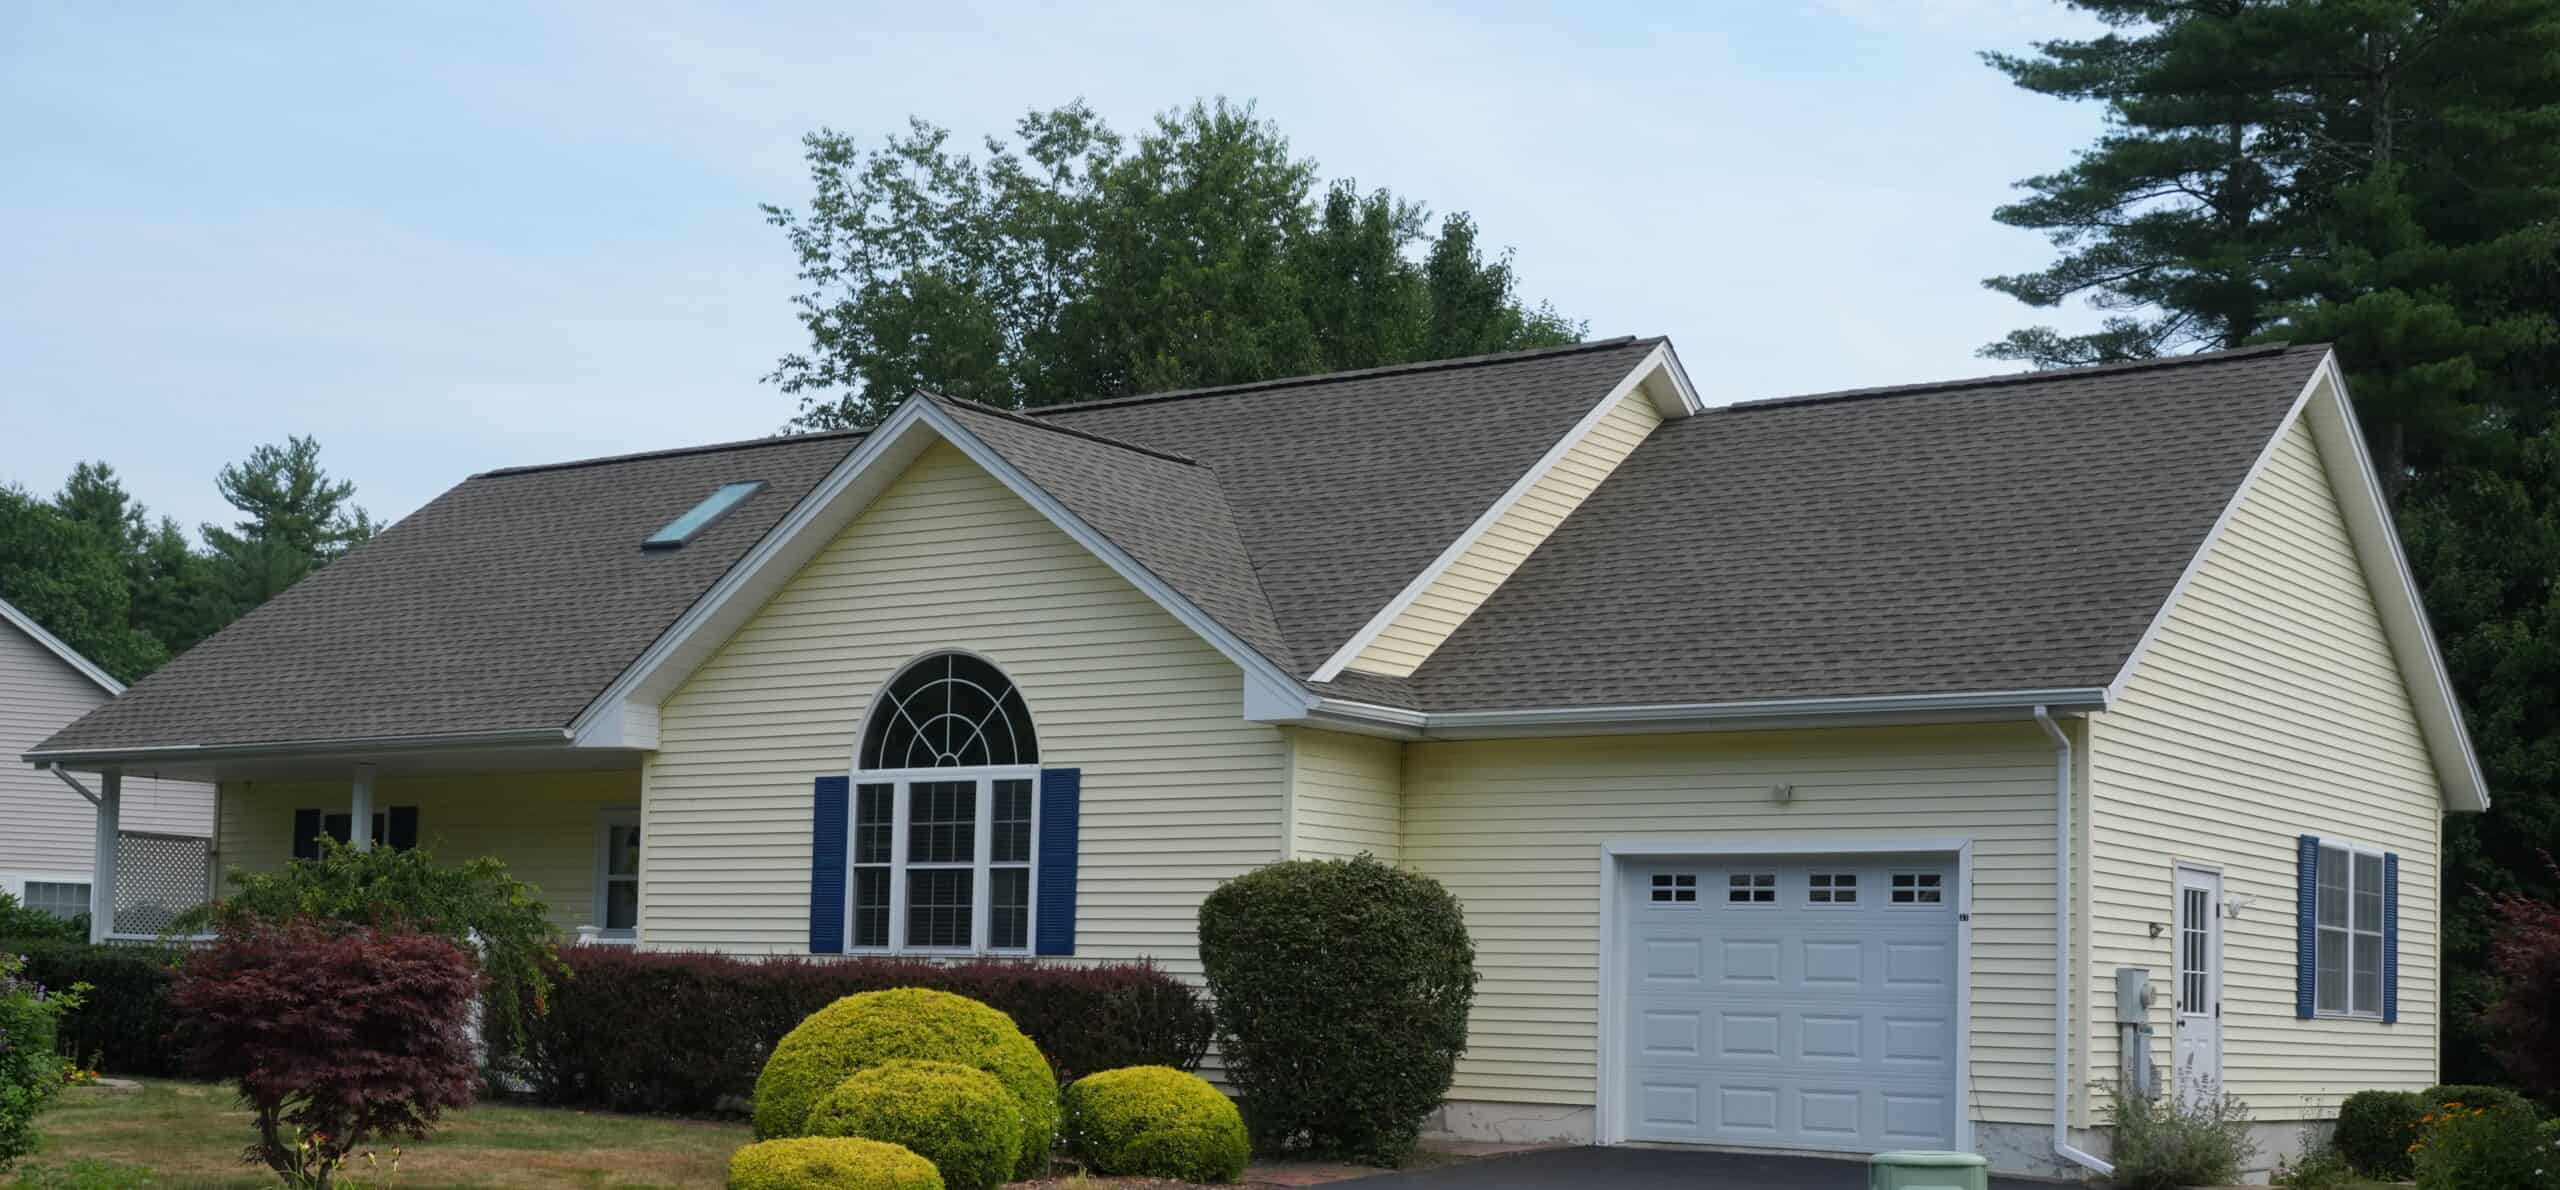
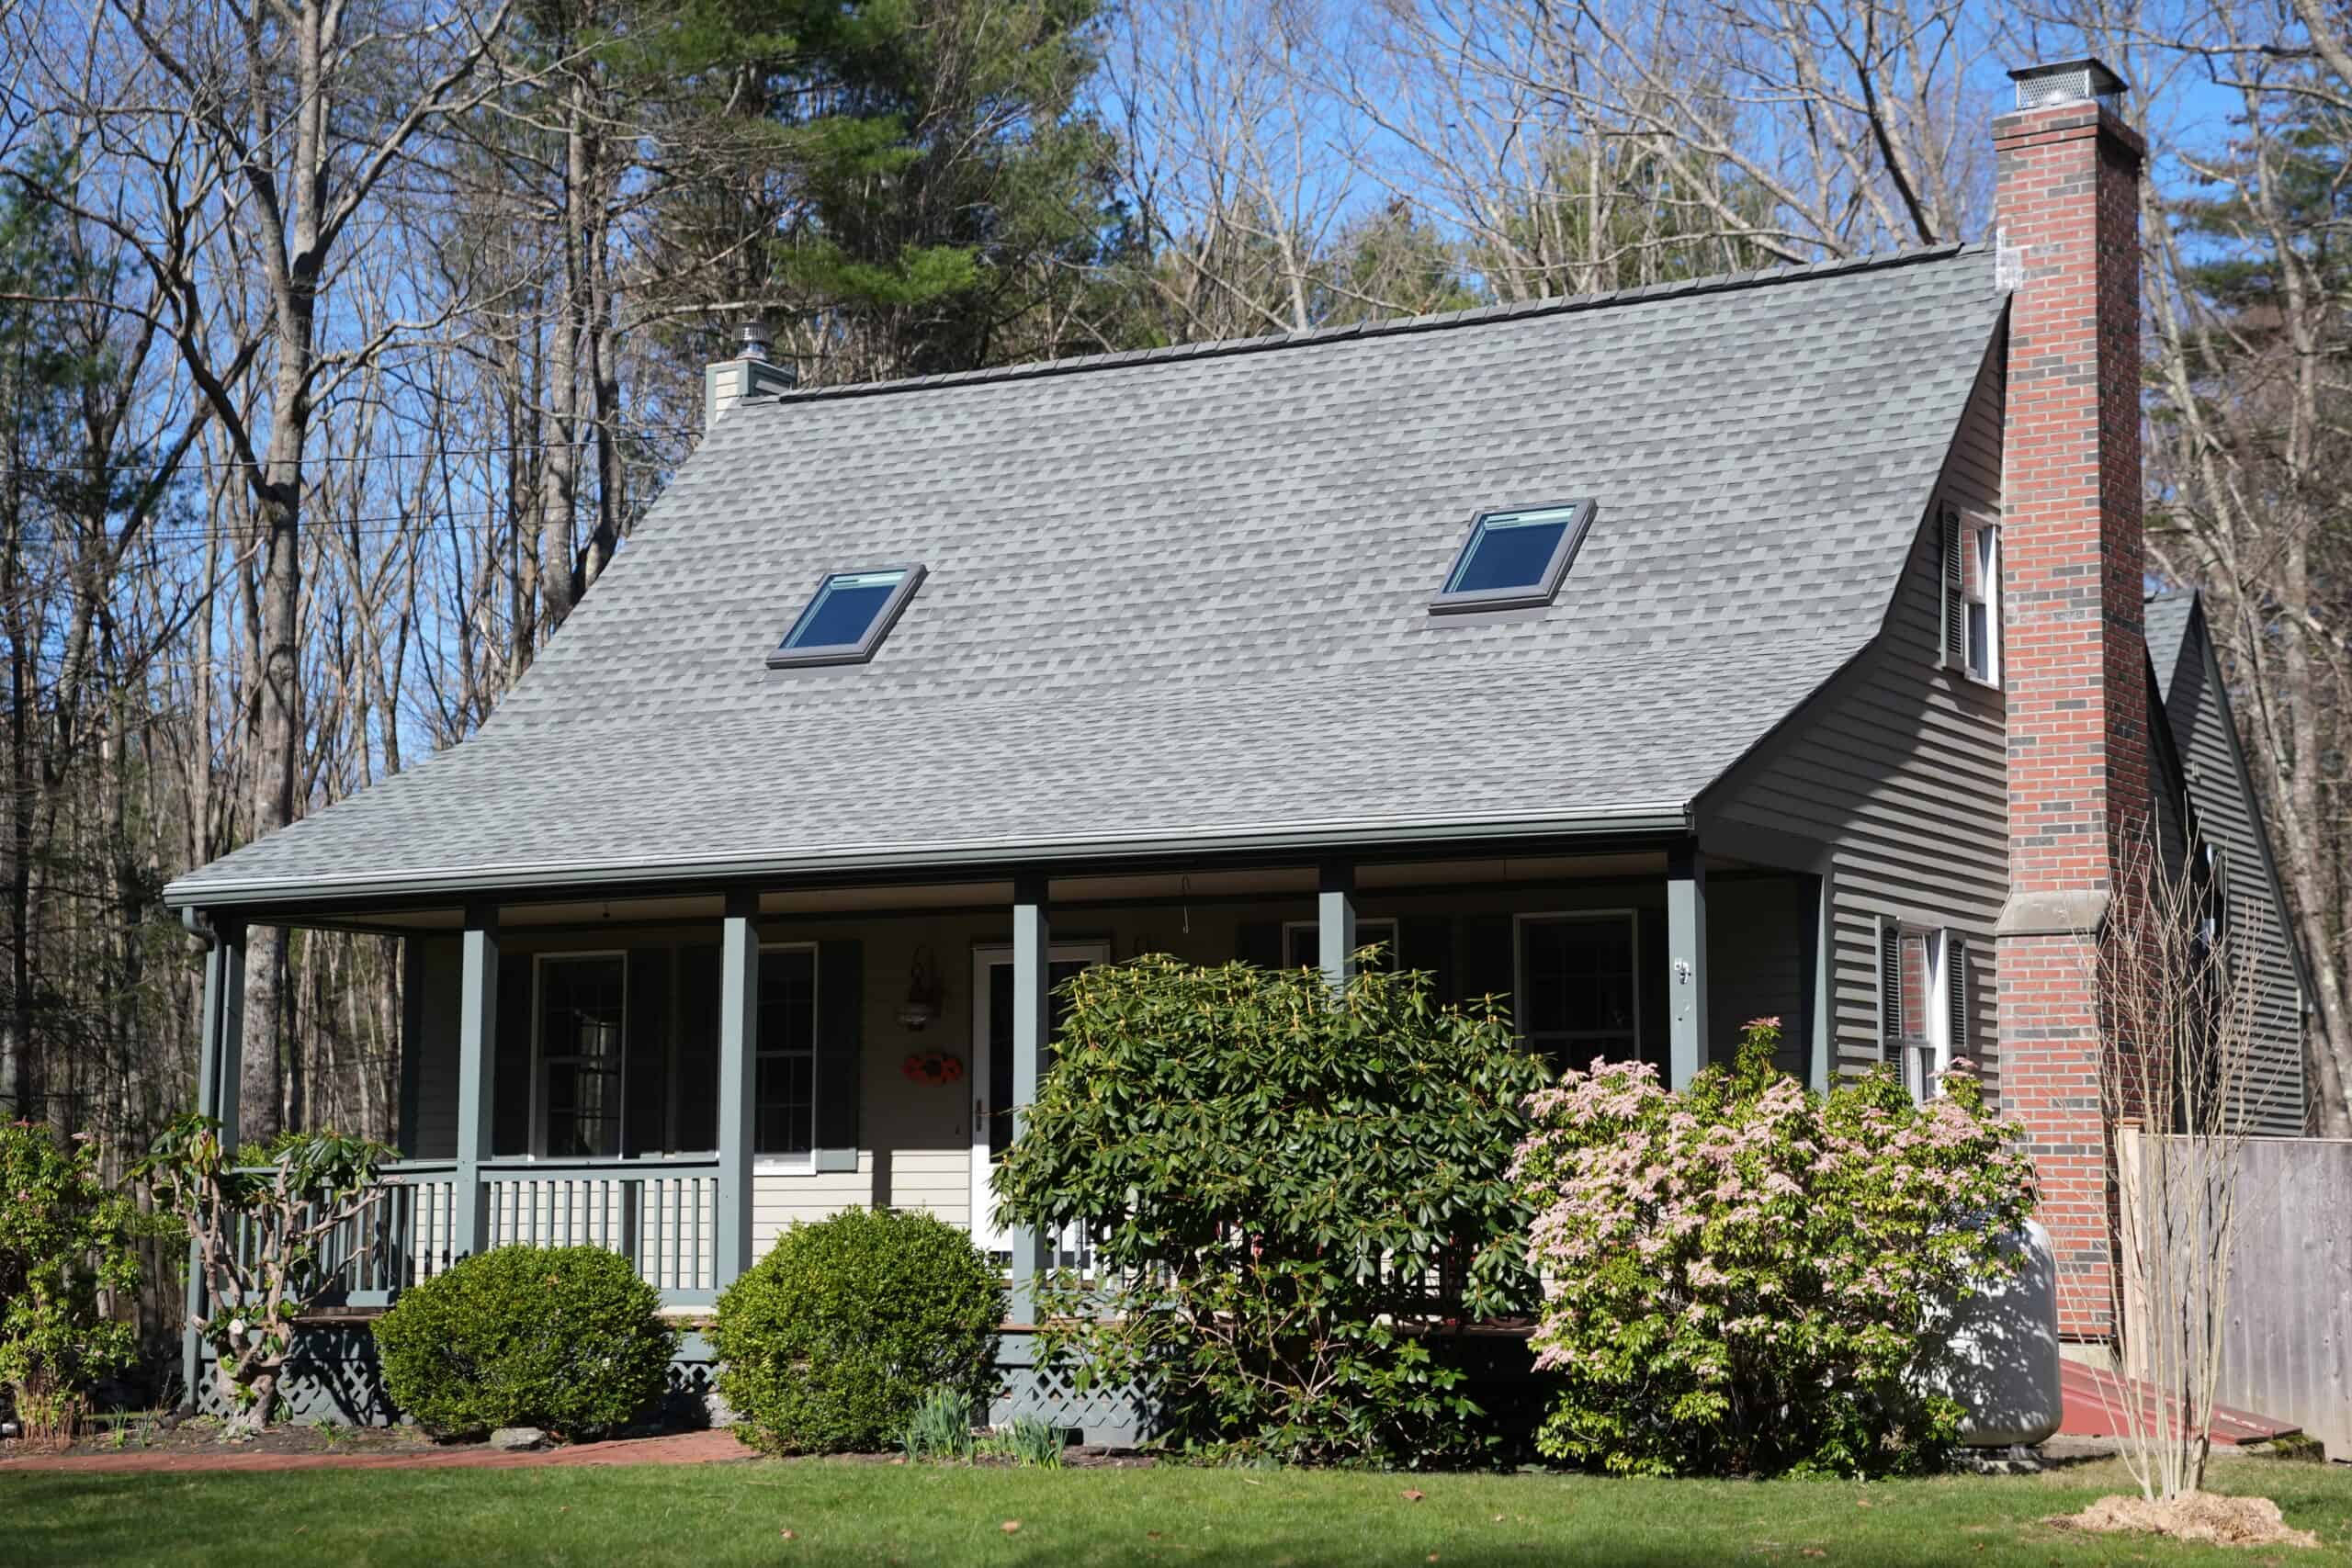
Classic New Hampshire Cape with a new architectural shingle roof by J. Carnes & Son Roofing

A leaking roof can cause a multitude of issues for homeowners, ranging from minor annoyances to major structural damage. In this article, we will explore 10 common issues that can arise from a leaking roof. These issues include water damage to ceilings and walls, mold growth, decreased energy efficiency, compromised structural integrity, decreased property value, increased risk of electrical hazards, and potential health risks. By understanding these issues, homeowners can take proactive measures to prevent or address leaking roofs before they become a more significant problem.

1. Attic, Ceiling, and Paint Damage

One of the most obvious and visible effects of a leaking roof is damage to the attic, ceiling, and paint. Water seeping through the roof can cause stains, discoloration, and peeling paint on the ceiling and walls. Over time, the water can weaken the ceiling’s structure, causing it to sag or even collapse.

2. Mold Growth

A leaking roof can create a moist environment that is ideal for mold growth. Mold can quickly spread and cause respiratory problems, allergies, and other health issues. If you notice a musty smell or see black spots on your ceilings or walls, you may have mold growth.

3. Decreased Energy Efficiency

A leaking roof can reduce the insulation’s effectiveness, leading to increased energy bills. The insulation can become wet and compressed, making it less effective in regulating the temperature inside the house.

4. Compromised Structural Integrity

Water can damage the roof’s structural components, including the trusses, rafters, and decking. Over time, this can compromise the roof’s strength and stability, making it more susceptible to collapse during heavy rain or snow.

5. Decreased Property Value

A leaking roof can significantly decrease a property’s value. Potential buyers may see a leaking roof as a sign of neglect and expect to pay less for the property.

6. Increased Risk of Electrical Hazards

A leaking roof can create an electrical hazard if water seeps into the electrical system. Water can cause short circuits, which can cause fires or shock hazards.

7. Potential Health Risks

Mold growth caused by a leaking roof can create health risks for homeowners. Mold spores can cause respiratory problems, allergies, and other health issues, particularly in children, the elderly, and people with weakened immune systems.

8. Pest Infestations

A leaking roof can create an ideal environment for pests such as rodents, termites, and other insects. These pests can cause damage to the roof’s structure and create health risks for homeowners.

9. Decreased Comfort

A leaking roof can make the home less comfortable. Water can seep into the insulation, making it less effective in regulating the temperature inside the house. This can lead to drafts and temperature fluctuations that make the home less comfortable.

10. Higher Maintenance Costs

A leaking roof can lead to higher maintenance costs, as homeowners may need to replace damaged insulation, repair water damage to ceilings and walls, and address other issues caused by the leak.

Conclusion

In a nutshell, a leaking roof can cause a multitude of problems for homeowners, ranging from minor annoyances to major structural damage. By understanding these issues, homeowners can take proactive measures to prevent or address leaking roofs before they become a more significant problem. Regular roof inspections, timely repairs, and proper maintenance can help prevent many of these issues and ensure a safe and comfortable home.

If you need help from a contractor for roofing, contact J. Carnes & Son Roofing. We are considered the leading and most trusted residential roofing contractor in New Hampshire and Southern Maine. Contact us and let us know what you need for your roof today!

The Devastating Consequences of Not Cleaning Your Gutters

New architectural shingle roof and white seamless gutters installed on a New Hampshire home by J. Carnes & Son Roofing

As a homeowner, it’s easy to overlook the maintenance of your gutters. After all, they’re not the most glamorous feature of your home, and they’re often out of sight and out of mind.

However, neglecting your gutters can have severe consequences for your home and your wallet. In this article, we’ll explore what happens if you don’t clean your gutters and why keeping them in good condition is so important.

What Are Gutters and Why Do You Need Them?

First, let’s define gutters and why they’re essential for your home’s health. Gutters are narrow channels that are attached to the edge of your roof. They aim to collect rainwater and direct it away from your home’s foundation. Without gutters, rainwater would run off your roof and pool around your house, causing erosion, water damage, and flooding.

Gutters also protect your home’s exterior from water damage. When rainwater collects on your roof, it can seep into your home’s walls and cause mold, rot, and other types of water damage. Gutters divert this water from your home, keeping it safe and dry.

What Happens When You Don’t Clean Your Gutters?

1. Water Damage

When your gutters are clogged with leaves, twigs, and other debris, rainwater can’t flow freely through them. Instead, it backs up onto your roof, causing water damage. Over time, this can lead to leaks, mold, and rot, which can be expensive to repair.

2. Pest Infestations

Gutters that have missed a few gutter cleaning sessions can also be a breeding ground for pests like mosquitoes, rodents, and birds. These pests are attracted to stagnant water and can use your gutters as nesting sites. Once they’ve taken up residence, they can cause damage to your home and be difficult to remove.

3. Foundation Damage

Remember how gutters are designed to direct water away from your home’s foundation? When your gutters are clogged, water can’t flow away from your home properly. Instead, it pools around your foundation, causing erosion and potentially leading to foundation damage. This can be a costly repair, and in extreme cases, it can even cause your home to become unstable.

4. Roof Damage

Clogged gutters can also cause damage to your roof. When water backs up onto your roof, it can seep under the shingles and cause them to lift or even fall off. This can leave your roof vulnerable to further water damage, making it more likely to leak.

5. Ice Dams

In colder climates, clogged gutters can cause ice dams to form on your roof. When water can’t flow through your gutters, it freezes and creates a barrier on your roof. As more water backs up behind the ice dam, it can seep under your shingles and cause water damage.

How Often Should You Clean Your Gutters?

Now that you know the consequences of neglecting your gutters, you probably wonder how often you should clean them. The answer depends on a few factors, including:

  • The climate in your area
  • The number of trees around your home
  • The type of gutters you have

Generally, it’s a good idea to hire gutter cleaning services at least twice a year, once in the spring and once in the fall. If you live in an area with a lot of trees, you may need to clean your gutters more frequently. It’s also a good idea to inspect your gutters after a big storm or heavy rainfall to ensure they’re in good condition.

Conclusion

Neglecting your gutters can have severe consequences for your home’s health and your wallet. Water damage, pest infestations, foundation damage, roof damage, and ice dams are just a few of the risks of clogged gutters. To keep your home safe and dry, it’s essential to clean your gutters regularly and inspect them for damage. By taking care of your gutters, you’ll be protecting your home for years to come.

Choose J. Carnes & Son Roofing for professional gutter cleaning services. We also offer gutter guards to protect your gutters and ensure they’re in good working condition. Contact us today to schedule your gutter cleaning appointment and give your home the protection it deserves.

3 Ways Clogged Gutters Can Lead to Basement Flooding

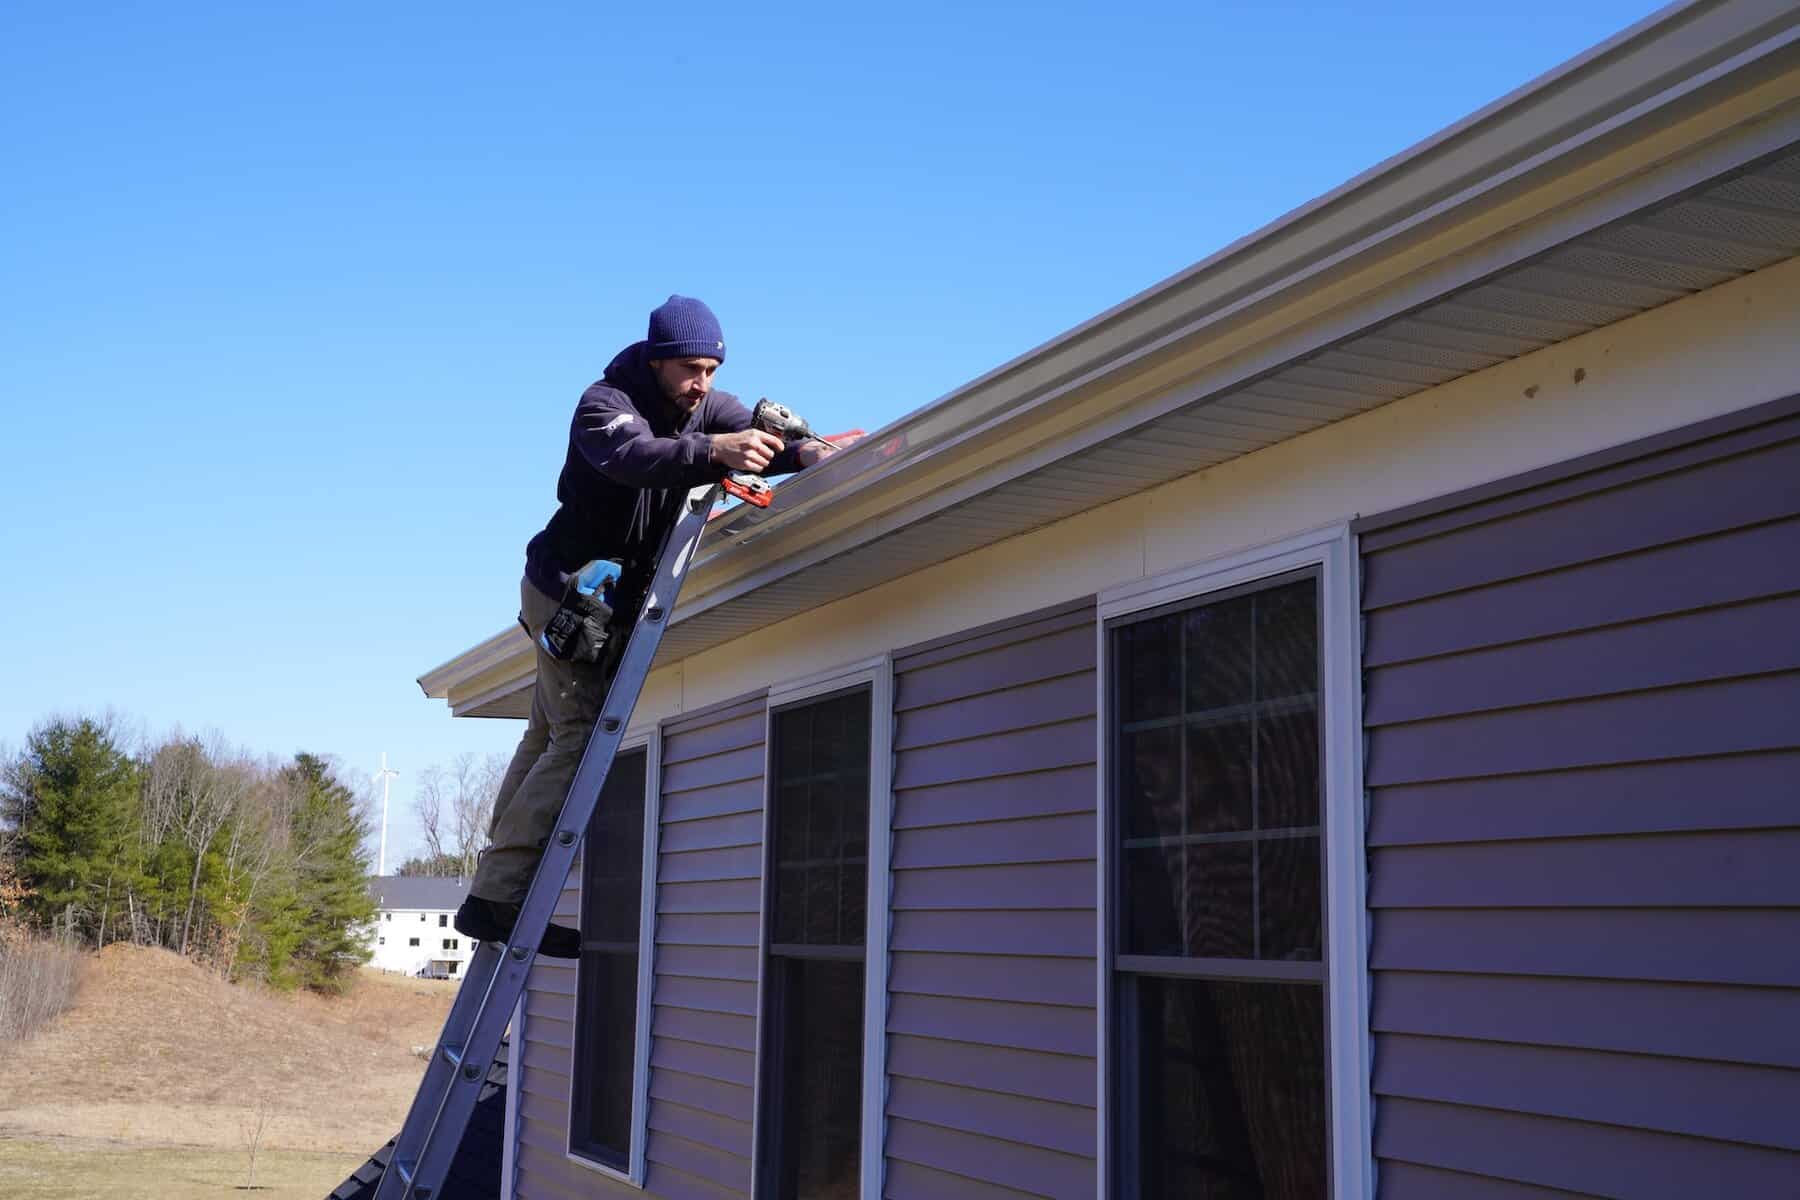
Gutter installation on a New Hampshire home by J. Carnes & Son Roofing

Clogged gutters are an often-overlooked problem that can have serious consequences for homeowners. One of the most significant risks of clogged gutters is basement flooding. To help you combat this, we thought it would be useful to put together a brief discussion on how clogged gutters can cause flooding. If this is something that you’re interested in learning more about, here are three ways clogged gutters can lead to basement flooding.

1. Water Overflow

The primary function of gutters is to direct rainwater away from your home’s foundation. However, when gutters become clogged with leaves, twigs, and other debris, they can no longer perform this essential task. Instead, water will overflow from the gutters and cascade down the side of your home, saturating the soil around your foundation. Over time, this can lead to soil erosion, which can cause your foundation to shift or crack, creating gaps that allow water to seep into your basement.

To prevent this from happening, homeowners should make sure to clean their gutters regularly. Ideally, gutters should be cleaned at least twice a year, in the spring and fall, to remove built-up debris. If you live in an area with many trees, you may need to clean your gutters more frequently.

2. Ice Dams

During the winter months, clogged gutters can also lead to basement flooding through the formation of ice dams. Ice dams occur when snow melts on your roof and then refreezes at the edge of your gutters, creating a barrier that prevents water from draining properly. As water continues to melt and accumulate behind the ice dam, it can seep under your shingles and into your attic, eventually making its way down to your basement.

To prevent ice dams from forming, homeowners should make sure their gutters are clear of debris before the first snowfall. Additionally, they should ensure that their attic is properly insulated and ventilated to prevent heat from escaping and melting snow on the roof.

3. Downspout Disconnection

Another way that clogged gutters can lead to basement flooding is through downspout disconnection. Downspouts are the vertical pipes that carry water from your gutters down to the ground and away from your home’s foundation. If downspouts become clogged or disconnected from the gutters, water can accumulate around your foundation, increasing the risk of basement flooding.

To prevent downspout disconnection, homeowners should make sure that their downspouts are securely attached to their gutters and that there are no obstructions preventing water from flowing freely. Additionally, they should ensure that their downspouts are directed away from their home’s foundation and towards a drainage area, such as a dry well or a storm drain.

Conclusion

Clogged gutters can pose a significant risk to your home’s foundation and increase the likelihood of basement flooding. Homeowners should take steps to prevent clogged gutters by cleaning them regularly, installing gutter guards, and trimming trees near their homes. Additionally, they should ensure that their downspouts are properly attached and directed away from their home’s foundation. By taking these steps, homeowners can protect their homes from water damage and avoid the costly repairs associated with basement flooding.

Choose J. Carnes & Son Roofing for professional gutter cleaning services. We also offer gutter guards to protect your gutters and ensure they’re in good working condition. Contact us today to schedule your gutter cleaning appointment and give your home the protection it deserves.

Why Hire Professional Contractors for a Chimney Flashing

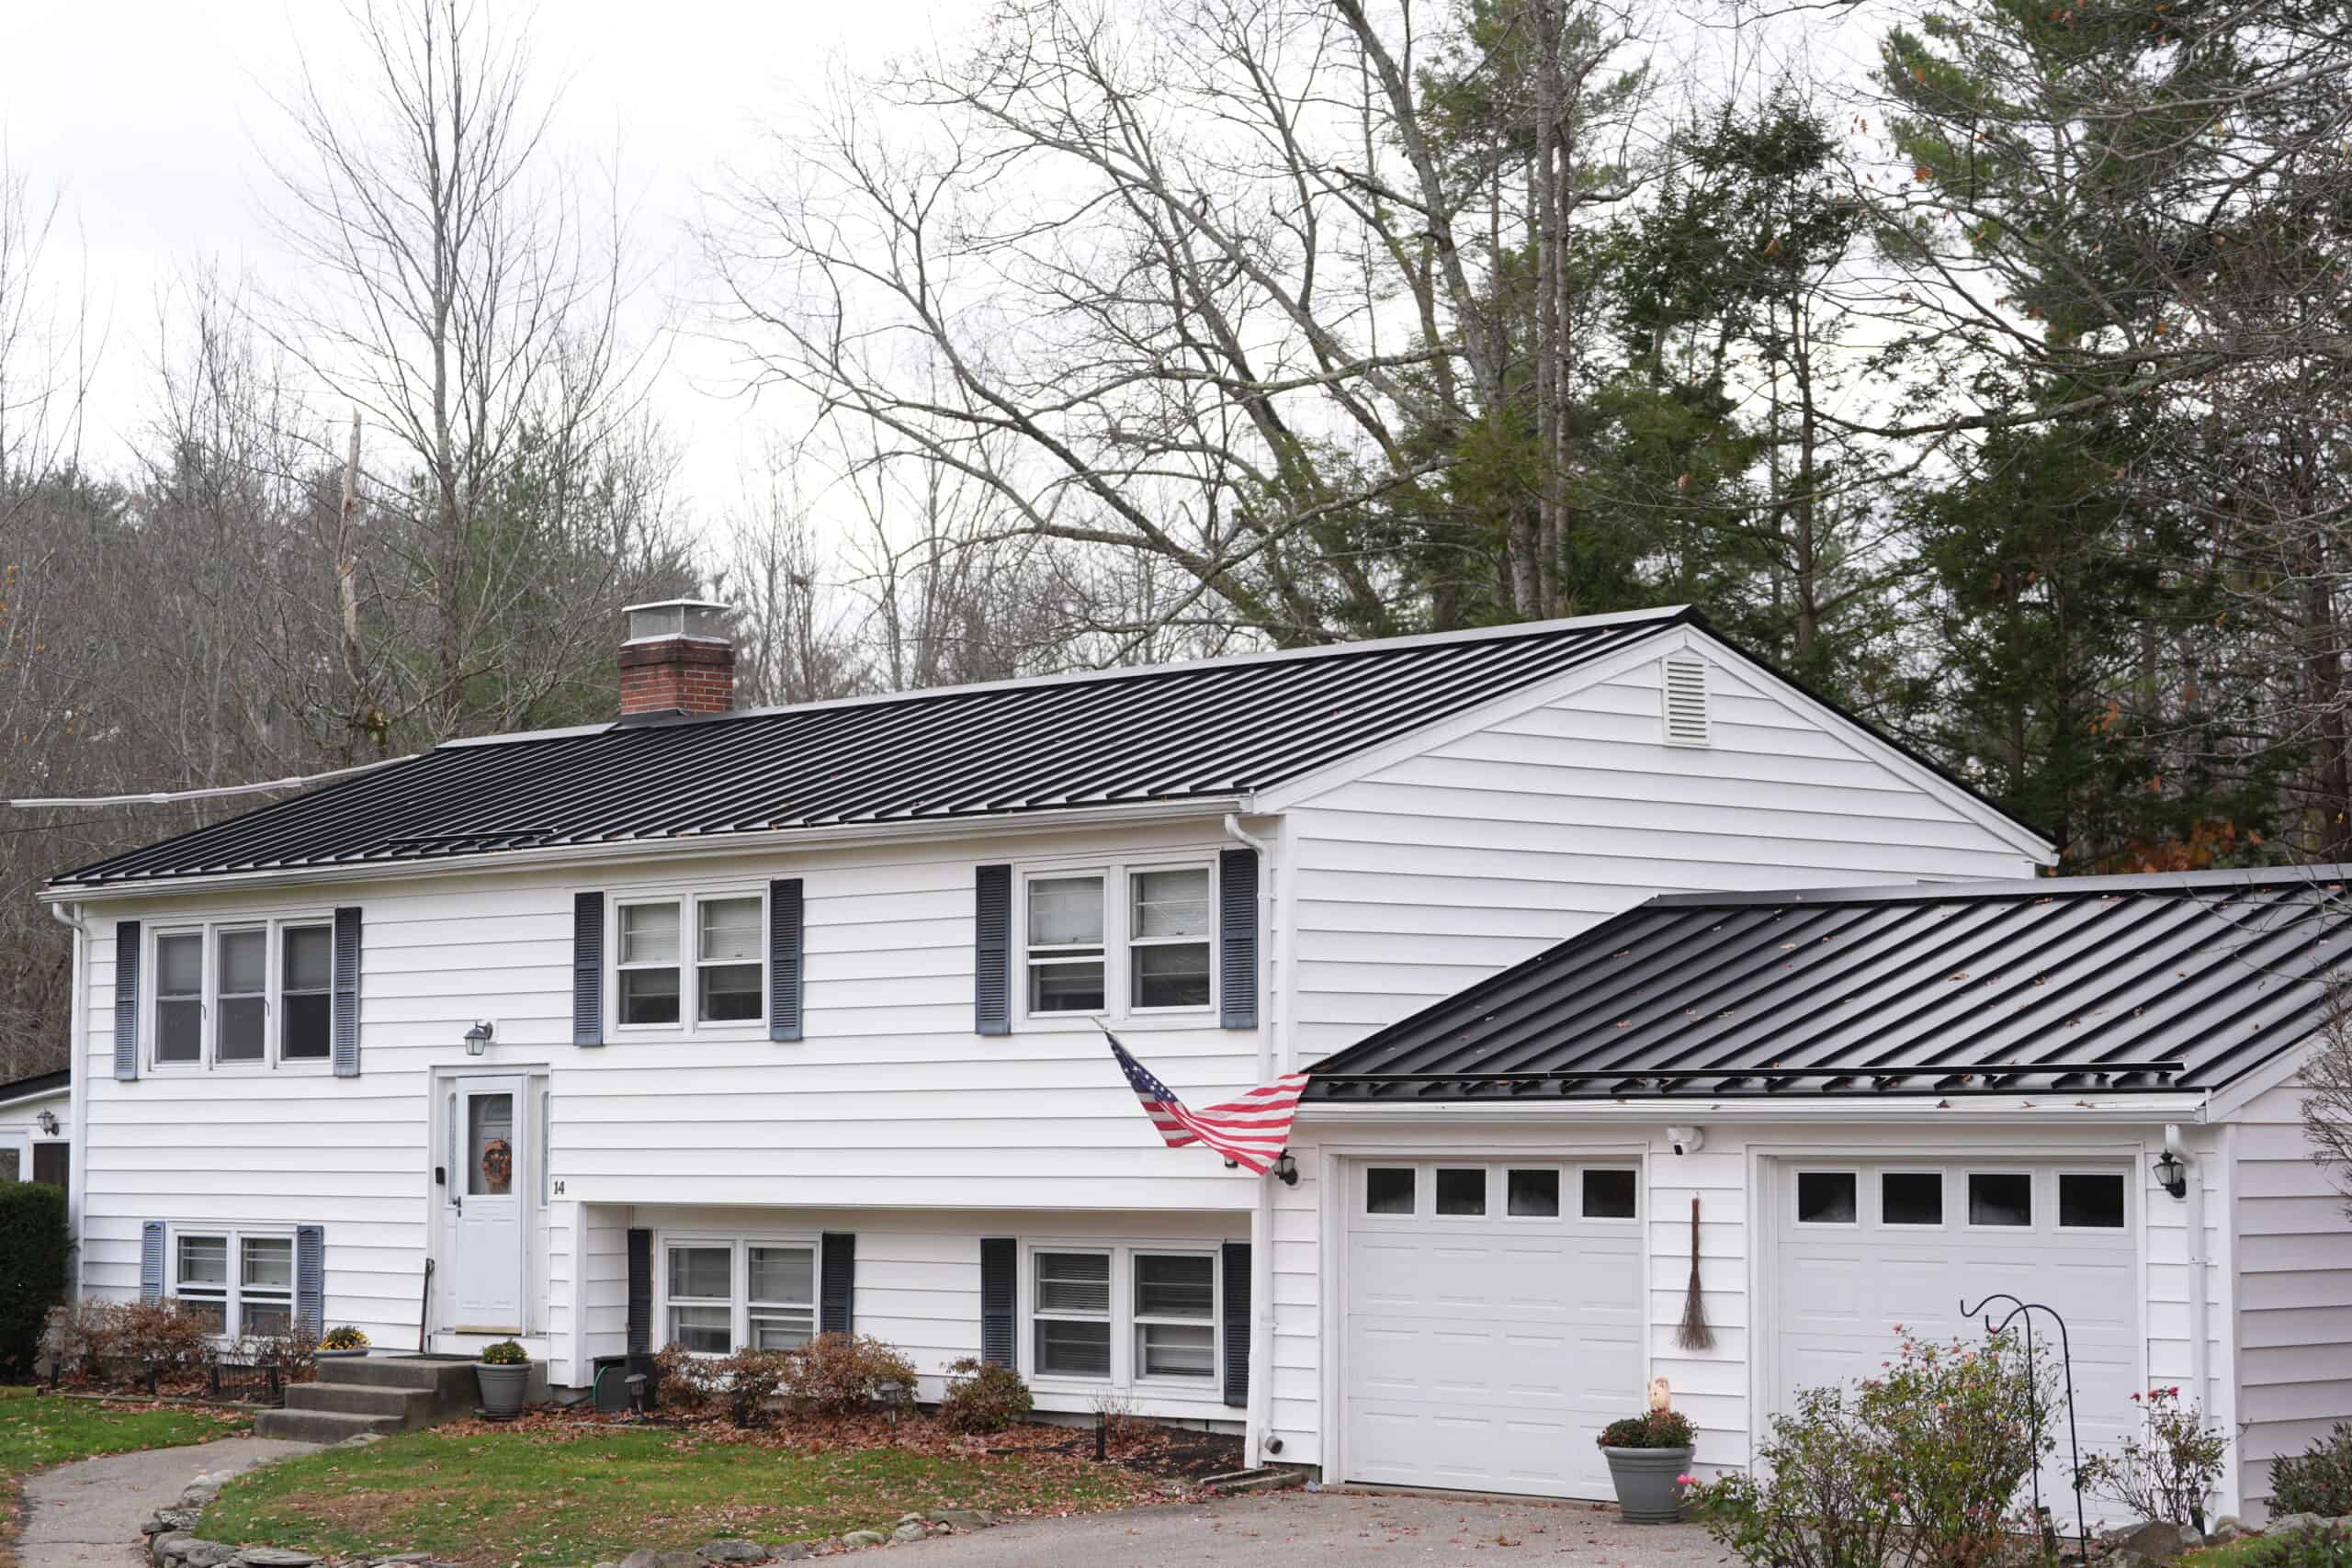
Black standing seam metal roof installed by J. Carnes & Son Roofing on a white split-level home in New Hampshire

Chimney flashing is a critical component of your roofing system that ensures your home is protected from water damage. It is a thin sheet of metal installed around the base of your chimney where it meets the roof, creating a watertight seal that prevents water from seeping in and causing damage to your home’s structure. 

While some homeowners may be tempted to take on chimney flashing installation or repairs themselves, it is crucial to hire professional contractors for this essential task. In this blog, we will explore why hiring a professional contractor for chimney flashing is the best decision for your home and safety.

1. Safety

Chimney flashing installation and repair involves working at significant heights and requires specialized knowledge and skills to ensure the job is done safely.

Professional contractors have the necessary training, experience, and equipment to perform the work safely and efficiently, minimizing the risk of accidents or injuries. By hiring a professional, you can have peace of mind knowing that your chimney flashing will be installed or repaired safely and securely.

2. Attention to Detail

Chimney flashing requires meticulous attention to detail to ensure a watertight seal and proper fit. Professional contractors have the expertise to identify any potential issues with your chimney and flashing, such as damaged or missing pieces.

They can recommend the best course of action for repair or replacement. They will also ensure the flashing is correctly installed and sealed, preventing future leaks and water damage.

3. Better Material Expenses

Professional contractors can access high-quality materials at better prices than homeowners typically find. They have established relationships with suppliers, allowing them to source the best materials for your chimney flashing at competitive prices.

By hiring a professional, you can ensure that your chimney flashing is made from top-quality materials that will stand the test of time and protect your home for years to come.

4. Roofing Warranty

Many roofing manufacturers require that chimney flashing be installed or repaired by a certified professional to maintain the warranty on your roof. Hiring a professional contractor ensures that your chimney flashing is installed according to the manufacturer’s specifications, protecting your investment in your roofing system.

If any issues arise with your flashing or roof, having a professional contractor perform the work may also make it easier to work with your insurance company to address any claims or repairs.

Final Thoughts

Chimney flashing is a crucial aspect of your home’s roofing system, and it is essential to ensure it is installed and maintained correctly. Hiring a professional contractor for chimney flashing offers numerous benefits, including increased safety, attention to detail, access to better materials, and protection for your roofing warranty.

By investing in a professional contractor for your chimney flashing needs, you can rest easy knowing that your home is protected from water damage and you are safeguarding your investment in your roofing system.

Don’t take chances with DIY repairs or inexperienced contractors, trust the professionals to get the job done right. Work with us at J. Carnes & Son Roofing, lead chimney flashing experts from Elmhurst, IL. Give us a call today for more information.

Watertight Homes: The Importance of Roof & Chimney Flashing

Black standing seam metal roof installed by J. Carnes & Son Roofing on a white split-level home in New Hampshire

Roof and chimney flashing are essential components of a watertight home. They serve as protective barriers that prevent water from seeping into your home, causing damage to the structure and interior. In this article, we will delve into the importance of roof and chimney flashing, the role they play in maintaining a watertight home, and why you should invest in high-quality materials and professional installation to ensure the longevity and effectiveness of these vital components.

The Role of Flashing in Your Roofing System

Roof flashing is a thin sheet of metal or other waterproof material that is installed at the intersections of different roofing surfaces and around roof penetrations, such as vents, chimneys, and skylights. Its primary purpose is to direct water away from these vulnerable areas, ensuring that it does not seep into your home and cause damage.

Chimney flashing, in particular, is crucial in preventing water from entering the home through the gaps between the chimney and the roof. The intersection between the roof and chimney is especially susceptible to water intrusion due to the angle at which water runs down the roof, which can cause it to pool around the base of the chimney.

The Importance of Roof & Chimney Flashing

1. Protection against Water Damage

The primary function of roof and chimney flashing is to protect your home from water damage. Flashing is typically installed in vulnerable areas where roofs intersect with walls, valleys, and around roof penetrations such as vents, skylights, and chimneys. These areas are prone to water infiltration, and without proper flashing, water can easily seep into your home, causing damage to the structure, walls, ceilings, and insulation.

2. Preventing Mold and Mildew Growth

When water infiltrates your home, it creates a damp environment conducive to the growth of mold and mildew. These fungi can cause respiratory issues, trigger allergies, and endanger the structural integrity of your home. Properly installed flashing helps prevent water infiltration, diminishing the risk of mold and mildew growth and ensuring a healthier living environment for you and your family.

3. Energy Efficiency

Water infiltration can lead to damaged insulation, which in turn reduces your home’s energy efficiency. Properly installed flashing helps maintain the effectiveness of your insulation, ensuring that your home stays warm in the winter and cool in the summer. This not only improves your comfort but also helps reduce your energy bills.

4. Preserving Your Home’s Aesthetics

Water damage can cause unsightly stains and discoloration on your home’s walls, ceilings, and exterior surfaces. By preventing water infiltration, roof and chimney flashing helps maintain your home’s aesthetics and curb appeal.

5. Protecting Your Investment

A well-maintained home with properly installed flashing will have a higher resale value than one with water damage or signs of poor maintenance. Investing in high-quality materials and professional installation of roof and chimney flashing protects your investment and ensures that your home remains in good condition for years to come.

Types of Roof and Chimney Flashing

There are several types of flashing materials available, each with its own advantages and disadvantages. Some popular materials include:

1. Aluminum: Lightweight, durable, and rust-resistant, aluminum flashing is an affordable option for many homeowners. However, aluminum can corrode when it comes into contact with some types of roofing materials, so it’s essential to consult with a professional to determine if it’s the right choice for your home.

2. Copper: Known for its longevity and durability, copper flashing is an excellent option for homeowners who want a long-lasting solution. Plus, it is highly resistant to corrosion than aluminum and can last for decades with proper maintenance.

3. Galvanized Steel: This type of flashing is made from steel coated with a layer of zinc, which makes it resistant to rust and corrosion. It’s a durable and affordable option, but it may not last as long as copper or some other materials.

4. Lead: Lead flashing is highly malleable, making it easy to work with and install. It’s also highly resistant to corrosion and can last for a long time. However, lead is a toxic material, and its use has been restricted in some areas due to environmental concerns.

Professional Installation & Maintenance

To ensure the effectiveness and longevity of your roof and chimney flashing, it’s essential to invest in professional installation and regular maintenance. A qualified roofing contractor will assess your home’s unique needs and recommend the best materials and installation techniques to ensure a watertight seal.

Regular maintenance, including periodic inspections and repairs as needed, will help extend the life of your flashing and protect your home from water damage. Professional installation and maintenance of your roof and chimney flashing can also save you money in the long run by preventing costly repairs or replacements.

Conclusion

Proper roof and chimney flashing is essential for maintaining a watertight home. Without it, water can seep into the gaps and cracks in the roof and chimney, causing damage to the structure of the home. By using the right type of flashing material and ensuring that it is installed properly, you can help protect your home from water damage and keep it safe and secure for years to come.

Looking for top-notch roof and chimney flashing services? You’ve come to the right place! At J. Carnes & Son Roofing, we pride ourselves on being the most reliable and trustworthy residential roofing contractor in New Hampshire and Southern Maine. Whether you need a new roof installation, roof repair, or chimney flashing installation and repair, our experienced team has got you covered! Don’t settle for less when it comes to protecting your home, trust our experts for all your roofing needs. Ready to schedule your roof and chimney flashing services? Contact us today and our friendly team will be happy to assist you every step of the way!

The Bottom Line On Why You Need Snow Removal

BLOG BottomLine2 01

Having snow covering your roof provides your home with some insulation from cold air, but it isn’t always good to leave it up there.

Snow can end up causing problems with your roof at times, resulting in the need for snow removal. Find out when you should get rid of snow from your roof and what kinds of issues it can cause.

When to Remove Snow From Your Roof

A little bit of snow on your roof generally won’t cause any problems. When you start getting 6 inches or more of snow building up, it’s a good idea to remove it. The heavy weight of large snow accumulations can put your roof at risk of having severe structural damage. You should also remove snow from your roof when it blocks your ventilation systems since this can lead to ice dams.

Other Problems with Snow on a Roof

Ice dams are the other main problem with snow to worry about. These dams form when snow at the ridge of your roof begins to melt on a sunny day or when your ventilation systems are covered. The heat which normally escapes through the blocked vents stays and warms your attic up enough to cause snow to melt quickly. As the melting snow drips toward your roof eaves and gutters, which are typically still frozen, it freezes again causing dams to form. As it melts, this moisture seeps into your home’s interior and causes serious water damage.

DIY vs. Professional Roof Snow Removal

Homeowners can remove snow on their own using a roof rake. However, this may not be enough to get all the snow off your roof. Professional roofers have the right equipment and experience to do thorough snow removal from rooftops, helping protect your home from structural damage and ice dams. Having professional snow removal also ensures vents are uncovered so snow won’t melt and refreeze at the eaves.

We offer reliable roofing services for homeowners in Hampton Falls. If you need snow removal from your roof contact J. Carnes & Son Roofing to keep your roof in good condition all winter long.

How To Avoid Moisture Problems In Your Attic

BLOG Avoid Attic 01 870x430 1

The purpose of this page is to increase awareness among homeowners about the potential for moisture problems in attics and how to avoid or resolve them.

How Can I Tell If I Have Moisture Problems?

If you suspect you have moisture problems in your attic, check for the following indications of excess moisture in the attic.

Inadequate Ventilation, Condensation in the Attic, Attic Moisture Problems
  • Rust
  • Moisture, frost, and ice buildup on roofing nails
  • Dark stains
  • Moisture or frost on the roof’s sheathing
  • Water or drip marks scattered on the attic floor
  • Buckled or damaged roof sheathing
  • Moist or wet insulation

These signs can vary contingent on the catalyst of the problem, and are generally worse on north-facing or shady sides of roofs.

How Does Condensation Get In The Attic?

Moisture accumulation is most significant when outside temperatures are very cold because air holds less moisture as the temperature decreases. If there is excessive moisture accumulation in your attic it will condense on cold areas mainly on the underside of your roof deck.

During the winter months, the recommended relative humidity inside a house is anywhere between 30-50 percent. At higher levels, relative humidity condensation can even occur inside of the house on windows, cold walls, or ceiling surfaces. Depending on how tight a house is constructed and the outside temperature, even a relative humidity of 30 percent may be too high. Condensation may occur at low levels of humidity on single-pane windows or windows which are not sealed well.

Sources of moisture in a home can vary. Some of the common sources are baths, showers, dishwashers, washing machines, dryers, cooking, unvented gas or kerosene space heaters, and the overuse of humidifiers. Even the average person produces about 3 pints of water a day while breathing. These sources are generally not a huge contributor to excessive moisture in the house or attic unless the amount of moisture is unusually high, the house is extremely tight, or proper venting is not used.

SCHEDULE A FREE ESTIMATE

.

Can Moisture Accumulate Through Foundations & Slab Walls?

Another less noticeable, but common source, of moisture accumulation is water moisture penetrating through foundation walls and floor slabs. Even when basements, floor slabs, and crawl spaces do not appear excessively damp they can be a significant source for moisture. Because of the relatively moderate temperature in these areas, moisture can go unnoticed and may not cause any problems there. As the moisture migrates upwards to the colder attic areas during the winter months, the relative humidity is increased to the point that condensation can occur on cold surfaces. This can result in mold, rust, and deterioration of wood and structural fasteners.

A simple qualitative test can be performed to see if moisture is passing through a foundation wall or floor slab. Take an 18 by 18-inch square plastic sheet and tape it tightly to the concrete and leave it in place for at least 16 hours. The presence of moisture under the plastic sheet is a positive indication that excessive water/moisture is likely in the slab. However, a negative indication is not an assurance the slab is acceptably dry below the surfaces. It is recommended to perform this test in several different locations.

How Does Moisture Rise From The Basement To The Attic?

In the winter your home’s heating system warms the air throughout the house. When water meets warm air it evaporates. Moist air has a lower average molecular weight than dry air, so it is less dense. If the top floor of the house is not tightly sealed warm air will escape, causing the pressure inside the house to decrease. This then results in air infiltration from openings at the lower sections of the house. Infiltration can be caused by wind, negative pressurization of the building, or by air buoyancy forces also known as the stack effect. Any water vapor in the warm air rises until it reaches the cold roof deck area at which point it cools and condenses back to a liquid phase.

Most of the openings which allow air to escape into the attic can easily be overlooked. Some of the more common examples of openings found in a house include gaps at pull-down attic stairways or other access openings; gaps at the tops of the exterior and interior walls; poorly sealed ductwork; and openings in the ceiling at wall cavities above stairways and closets. A considerable amount of air can leak through relatively small gaps. Some openings can even provide a direct path from the basement or crawl space directly to the attic. Air infiltration is also a common cause of heat loss and can significantly increase the heating cost.

How Can I Eliminate Excess Moisture?

Most professionals will recommend increasing ventilation in your attic if ventilation is inadequate. However, this often does not solve the problem. Increased ventilation alone will increase the exfiltration of air, lowering the temperature of the attic. This may increase condensation and lower the effectiveness of the insulation. Also, because airflow is not uniform, significant condensation may still occur. A moist attic means moist insulation and moist insulation is less effective.

The best solution for controlling moisture is at its source. If the problem is the result of water or moisture penetrating the foundation or floor slab, there are many remedial actions that may help. These can include the installation of seamless gutters and downspouts. These should be cleaned regularly and be working properly. Re-grading the property near the perimeter of the foundation and sealing foundation walls or floor slabs are two more options. Using a dehumidifier and installing a perimeter draining system can further reduce moisture in the foundation or floor slab. Because of the many conditions which can cause foundation moisture penetration and the many solutions, each house should be individually evaluated to determine the cause and the best possible solution for the problem.

What Else Can Be Done?

After moisture penetration is controlled as best as possible, the next approach to reducing attic moisture is by controlling air infiltration. Simply by sealing the various possible paths of air leakage already discussed, infiltration will be reduced, therefore restricting the movement of air and eliminating the stack effect. Most handy homeowners should be able to handle this part on their own. If not, there are many weatherization contractors available to complete this type of project.

Keep in mind, when air leaks are properly sealed to reduce air infiltration into the house, the relative humidity is higher. This moisture is contained to the living space where it is desirable during the winter months. Tighter homes have reduced heating and cooling costs and are generally more comfortable. If a home is too tight the need for mechanical ventilation might be necessary to assure moisture or pollutants do not accumulate to unhealthy levels. However, this is not a concern even for most properly sealed homes.

What About My Attic Insulation?

Attic Moisture, Wet Insulation, Inadequate Ventilation

Now that the house is properly sealed it is crucial to verify the attic’s thermal insulation is adequate and properly installed. The insulation on the floor of your attic needs to have an approved vapor barrier installed on the warm-in-winter side of the insulation. In most cases rolled or batt insulation will have a vapor barrier already attached. On the vapor barrier, the insulation should be labeled at least an R-30. If that number is lower you should add more insulation. If the attic has blown in cellulose check to see if there is a vapor barrier and confirm the cellulose insulation is spread evenly throughout the attic floor. Attics with pull-down attic stairs should have attic stair insulation covers installed.

Should I Do Anything About My Attic Ventilation?

The final step is attic ventilation. Attics need to have a balanced ventilation system consisting of an intake and an exhaust. The soffits work as the intake and roof vents or ridge vents work as the exhaust. This installation method actually promotes the stack effect to continuously move the air contained within the attic. When a properly balanced roof ventilation system is installed, any breeze blowing across the ridge of the house causes air to be drawn from the roof or ridge vents. The air is replenished through the soffit vents. When installing a balanced ventilation system it is important to block any older style gable vents located on the house. These vents will actually short-circuit the desired flow of air.

For more information on this subject visit our home page www.jcarnesroofing.com

J. Carnes & Son Roofing proudly serves New Hampshire’s Seacoast and surrounding areas.

How To Tell If Storm Damage Is Covered By Insurance

BLOG JCarnes2019 How To Tell If Storm Damage Is Covered By Insurance 01 870x430 1

New Hampshire isn’t without its bad weather. We have been known to experience severe storms, which means your home’s roof could potentially experience damage should such a storm hit your area. If this were to happen, it could require expensive repairs or replacement depending on the extent of the damage. Fortunately, your homeowner’s insurance policy may cover these costs, but this is all dependent on what kind of coverage you have.

Standard Homeowner’s Insurance Policy Coverage

You would think if you have homeowner’s insurance it would cover any damage caused to your roof, no matter what. Unfortunately, this isn’t necessarily the case. Most homeowner’s insurance policies will cover damage caused by wind, such as if shingles are torn off your roof. Debris from the wind also could cause impact damage (for example, if a tree or tree branch falls onto your roof and damages it). Your insurance should also cover damage caused by lightning strikes (which can cause fires) as well as water and ice damage. This is particularly useful during the winter season here in New Hampshire as we are prone to experience winter storms and everything which goes along with them.

However, your policy will not cover flood damage or earthquake damage. Additionally, if you did not maintain your roof properly, the policy may not cover all of the costs associated with damage done during a storm.

Additional Coverage

You may need to purchase additional coverage if you live in an area prone to floods or earthquakes. Earthquakes can cause roof damage if they are severe enough, but you probably won’t have to worry about them here in New Hampshire. However, don’t just assume that your general homeowner’s insurance policy covers everything else. Make sure your policy covers things like wind damage, fire damage, lightning damage, ice damage, and water damage. If it doesn’t, you may need to upgrade your policy or add a rider to it.

Understand What Your Insurance Covers

Assuming your homeowner’s insurance policy will cover all of your roof damage repairs or replacement is risky. What if your roof is damaged and it turns out your policy doesn’t cover the damage? Then you may end up losing a significant amount of money paying for whatever repairs and replacements are necessary. Not to mention it’s never a good idea to leave roof damage be, no matter how minor it might be. It will grow worse over time, which means it will be even more expensive to repair or replace.

Additionally, it will leave your roof more vulnerable to storm damage. Should storm damage result and the insurance company finds out you didn’t make necessary repairs beforehand, they may not cover those damages even if those costs fall under your policy’s protections. Find out what your policy covers and either upgrade it or add the necessary riders to ensure you have the coverage you need.

Steps to Take After Storm Damage Happens

If your roof has been damaged in a storm, knowing what to do afterward can be a bit of a challenge. The following are the steps you should take.

  1. Make sure your family is safe,  If the roof is structurally compromised, evacuate your household.
  2. Document the damage,  Take pictures of any damage you can see from the ground. When your roofer arrives, ask for more detailed shots of the roof damage.
  3. Contact a roofer,  A reputable roofer in your area should be able to provide a thorough professional inspection. They will evaluate the damage and provide a written report, including a detailed estimate you can provide to your insurer.
  4. Contact your insurer,  Once you have your roofer on the way, call your insurance agent to let them know about the damage and begin the claims process.

Once you’ve contacted your insurance agent, they will send someone to your home to do their own evaluation. You’ll want the roofer to meet with the claims adjuster to discuss the damages and the cost. You should only have your roofer begin work when the claims adjuster has signed off on the work that needs to be done and the amount which will be covered. Once the work is done, you’ll pay the roofer with the check you get from your insurance company.

Dealing with your insurance company can be tricky when it comes to roof damage. It’s why you should understand what your policy covers and why you should hire a roofer with experience dealing with insurance companies. To schedule a roof inspection and obtain an estimate, contact us at J. Carnes & Son Roofing in New Hampshire today.